![]()

Bathroom Layout Ideas: Design Your Perfect Space in 2026
Planning a bathroom renovation or building from scratch? Getting the layout right is the foundation of every successful project. A smart bathroom layout maximizes functionality, flow, and comfort, whether you’re working with a closet-sized powder room or a sprawling master bath. This guide walks you through proven bathroom design strategies, from understanding standard dimensions to exploring creative solutions for tight spaces. You’ll learn how to position fixtures strategically, integrate storage smartly, and ensure lighting and ventilation work hard. Think of bathroom layout as the blueprint that makes everything else, tile selection, fixture choices, and style decisions, actually work in your space.
Key Takeaways
- A smart bathroom layout maximizes functionality and comfort by strategically positioning fixtures near existing water lines and following standard clearance codes, such as 18 inches from toilet center to any wall or fixture.
- Small bathroom layouts under 40 square feet can maximize space by using wall-mounted fixtures, vertical storage, floating vanities, and corner showers with sliding doors to keep floor space open.
- Master bathroom layouts benefit from 100–200 square feet of space divided into separate zones for the toilet, sink/vanity, and shower/tub areas, with dual vanities spaced 30–36 inches apart to eliminate morning congestion.
- Proper bathroom ventilation requires an exhaust fan sized at roughly 1 CFM per square foot, positioned near the shower, and ducted to the exterior with minimal turns to prevent moisture and mold buildup.
- Bathroom layout success depends on planning storage, lighting, and fixture placement during the design phase rather than after, using tools like graph paper sketches or design apps to prevent costly mid-project changes.
- Lighting in bathroom designs should include three layers—task lighting at 24–30 inches above the counter, ambient ceiling fixtures, and optional accent lighting—all on GFCI-protected circuits for safety.
Understanding Bathroom Layout Basics
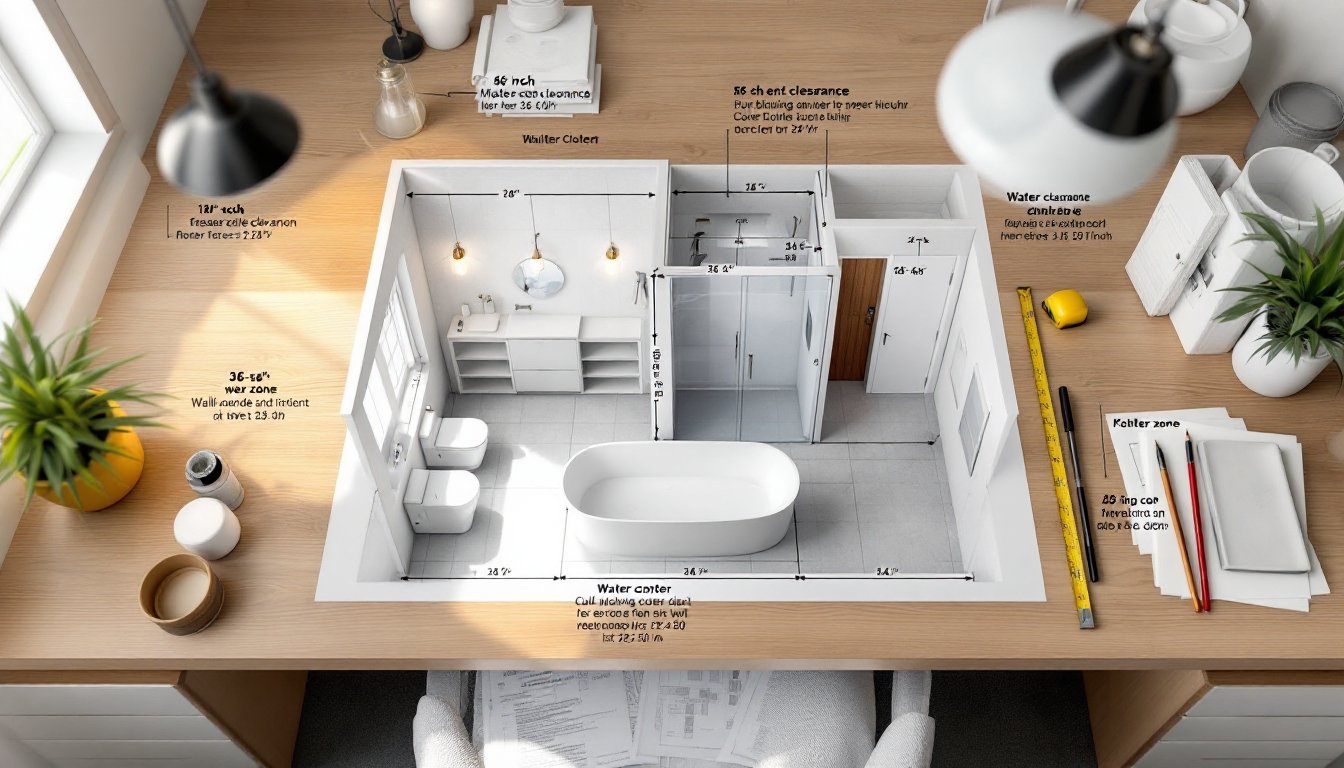
Every bathroom layout starts with understanding the standard dimensions and clearances that make a space feel open and functional. The minimum door swing requires 32 inches of clear width (some codes require 36 inches), and toilets need at least 18 inches from the center to any wall or fixture.
The three main bathroom layout types, the linear, L-shaped, and galley, work best when plumbing runs are short and fixtures cluster near existing water lines. A linear layout places fixtures along one wall, ideal for tiny bathrooms or powder rooms. The L-shaped design uses two adjacent walls, offering better workflow without feeling cramped. The galley layout mirrors fixtures on opposite walls, common in master baths where you want distinct zones for toilet, sink, and shower.
Standard bathroom layout dimensions matter. A basic half-bath needs about 20 square feet. A full bathroom (toilet, sink, and tub or shower) typically runs 40–50 square feet, though you can work efficiently in less with smart planning. Master bathroom layouts often claim 100+ square feet, allowing dual vanities, a spacious shower, and soaking tub. Building codes vary by jurisdiction, so check your local IRC (International Residential Code) and ADA accessibility standards if applicable.
Small Bathroom Layouts That Maximize Space
Small bathroom layout dimensions demand ruthless prioritization. A tight space doesn’t mean you sacrifice function, it means every inch counts.
For small full bathroom layouts under 40 square feet, stack your plumbing vertically when possible. Run water supply and drain lines within the same wall cavity to free up floor space. A compact toilet paired with a pedestal sink or a narrow floating vanity keeps the floor open and makes the space feel bigger. Corner showers with a sliding glass door (not a swinging door) save square footage, and a showerhead mounted high on the wall keeps sight lines clean.
Wall-mounted fixtures are your secret weapon. A wall-hung toilet saves floor space and makes cleaning easier. Floating vanities do the same and create a visual break between the vanity and floor, making the room feel taller. Recessed shelving carved into existing stud bays gives you storage without eating into floor space.
Design a bathroom within tight constraints by thinking vertically. Tall, narrow mirrors reflect light and draw the eye upward. Medicine cabinets mounted above the toilet use dead space. Vertical tile or paneling patterns also trick the eye into perceiving height. Wall-mounted faucets free up counter space and simplify cleaning. Small bathrooms benefit from a cohesive color palette, light neutrals with one accent wall feel planned, not cramped. Practical resources like Houzz’s guide to 100-square-foot bathrooms show real examples of smart, compact designs.
Master Bathroom Layouts for Comfort and Style
Master bathroom layouts have the luxury of space, and good design balances opulence with practicality. A comfortable master bath typically ranges from 100–200 square feet and separates zones: toilet area (sometimes in a private water closet), sink/vanity area, and shower/tub zone.
Dual vanities are popular and smart, they eliminate morning traffic jams and add value. Space them 30–36 inches apart for comfortable reach without feeling cramped. A makeup area with adequate lighting and counter space is a luxury that pays dividends. Consider his-and-hers towel bars, medicine cabinets, and storage zones to keep partner clutter manageable.
A soaking tub or freestanding tub works best positioned away from the main entry, place it where natural light or architectural views enhance the experience. A generous shower with bench seating, body sprays, and a rainfall showerhead creates a spa feel without requiring enormous square footage. Separate the toilet from the main bathroom with a pocket door or water closet: it’s a small touch that makes the space feel more refined and maintains privacy if one person uses the toilet while another showers.
Lighting design in master bathrooms should include task lighting around mirrors, ambient ceiling lights, and accent lighting around the tub or shower. Remodelista’s curated home guides offer inspiration for luxury materials and finishes that elevate a master bath without unnecessary expense.
Essential Bathroom Fixtures and Placement
Fixture placement follows plumbing logic and human comfort. The toilet goes closest to the vent stack (the vertical pipe running through your home to the roof): if it’s far from the stack, rough plumbing becomes expensive.
Toilets need a minimum 18 inches from the center to any wall or perpendicular fixture. The sink (or vanity) should sit at a comfortable height, standard is 30–36 inches from finished floor to rim, with 18–24 inches of clear counter space on each side. Wall-mounted faucets look sleek and save counter space but require solid backing (reinforced studs or a backer board) to support the load.
Shower and tub placement is flexible since drain lines can run under the floor, but minimizing distance keeps plumbing simpler and costs lower. A shower should be at least 36×36 inches (building code minimum), though 48×48 inches feels much roomier and is closer to standard now. If combining a tub-shower, plan for adequate knee clearance and position the showerhead at least 48 inches up the wall, or higher if you’re tall.
Bathroom interior design often hinges on how you treat the wet zone (tub/shower). A partial glass partition or a frameless glass enclosure makes a small bathroom feel open while containing splash. Waterproofing is non-negotiable here, use cement board or a waterproof membrane behind tile, and slope the floor slightly toward the drain. Ventilation placement near the shower (ceiling or wall duct leading outside, not into the attic) pulls moisture immediately.
Storage Solutions and Vanity Configurations
Storage separates a chaotic bathroom from a calm one. Plan cabinets, shelves, and nooks during the layout phase, not after.
Vanity configurations depend on space and need. A single vanity with a towel bar and medicine cabinet works for guest baths and smaller ensuite spaces. Dual vanities (24–30 inches wide each) suit master baths and larger shared spaces. Floating vanities open up floor space, making rooms feel bigger: wall-mounted units require solid backing and support for plumbing lines.
Recessed medicine cabinets fit inside stud cavities (16 or 24 inches on center, depending on framing) and cost less than surface-mounted units. They’re ideal for small bathrooms but reduce wall insulation slightly. Shelving above the toilet or in corners captures unused vertical space, ideal for rolled towels, baskets, or decorative storage.
Drawer dividers, pull-out organizers, and tiered shelves within vanities maximize what you store. Plan for hair styling tools, medications, skincare, cleaning supplies, and extra toilet paper. Bathrooms without ventilation fans (poor practice but common in older homes) need breathable storage, open shelves and wicker baskets instead of closed cabinets. Bathroom design tools and home renovation planning resources help you visualize storage placement and vanity layouts before demolition.
Lighting and Ventilation Placement Tips
Proper lighting and ventilation keep your bathroom functional, healthy, and pleasant year-round.
Lighting comes in three layers: task (mirror-side sconces or overhead lights, 50–75 watts equivalent per side), ambient (ceiling fixture, 10–20 watts per square foot), and accent (optional, around mirrors or tub). Vanity lighting mounted 24–30 inches above the counter on either side of the mirror minimizes shadows on your face. Ensure all bathroom lighting is on a GFCI-protected circuit (ground-fault circuit interrupter): this is code in all jurisdictions and a safety essential.
Ventilation removes moisture that causes mold, rot, and peeling paint. A properly sized exhaust fan should move 50–100 CFM (cubic feet per minute) per 50 square feet of space, roughly 1 CFM per square foot. Size matters, undersized fans don’t keep up: oversized ones are noisy. The duct should run to the exterior (roof or wall), not the attic, and slope downward slightly to prevent condensation backup. Install the fan in the wet zone (near or above the shower), not across the room from it.
Run the fan during and for 20–30 minutes after showers to handle peak humidity. A humidity-sensor switch (sold separately) automates this and cuts energy waste. Bathroom layout design that positions the exhaust duct near the shower maximizes efficiency and avoids running long ductwork, which reduces airflow and collects moisture. A short, smooth duct run (as few turns as possible) keeps your system performing well.
Conclusion
A well-planned bathroom layout sets you up for success, whether you’re refreshing a powder room or designing a spa-like master bath. Start by understanding your space, measuring carefully, and mapping out plumbing runs. Prioritize fixture placement for code compliance and daily comfort, layer in storage smartly, and dial in lighting and ventilation. The design process, using bathroom design apps, sketching on graph paper, or consulting a designer, pays dividends when you live with the results. Take your time in the planning phase: it costs almost nothing and prevents expensive mid-project changes.