![]()

Interior Packaging Design: Transform How You Store and Display Items at Home
Interior packaging design isn’t just about throwing boxes into a closet, it’s the strategic approach to how you organize, store, and display items within your home. Whether you’re dealing with cluttered kitchen cabinets, bedroom closet chaos, or a living room that feels cramped, thoughtful interior packaging design creates order and maximizes usable space. The best part? You don’t need a professional interior designer or expensive custom solutions. By understanding core design principles and exploring practical materials, you can carry out storage solutions that look intentional and function beautifully. This guide walks you through what interior packaging design means for homeowners, the principles that make it work, and real room-by-room applications you can tackle yourself.
Key Takeaways
- Interior packaging design strategically organizes household items through containers, dividers, and spatial arrangement, transforming cluttered spaces into functional, visually calm environments.
- Prioritize accessibility by placing frequently used items within arm’s reach and utilizing vertical space through shelving, pegboards, and wall-mounted organizers to maximize storage without consuming floor space.
- Choose durable, versatile materials like clear plastic bins for visibility, glass for pantry items, fabric bins for bedrooms, and powder-coated metal for humid areas—balancing aesthetics with practical functionality.
- Apply room-specific storage solutions: kitchen drawer dividers and labeled bins for visibility, bedroom vertical folding with under-bed storage, and living room open shelving mixed with closed cabinets to hide clutter.
- Start with one small interior packaging project like organizing a single drawer or cabinet with dividers and labels, building confidence before tackling larger spaces.
What Is Interior Packaging Design and Why It Matters for Your Home
Interior packaging design refers to the thoughtful arrangement and containment of household items, from kitchen utensils to bedroom linens, using strategic containers, dividers, and spatial organization. It’s the practical cousin of graphic packaging design: instead of designing a cereal box label, you’re designing how items live inside your home’s spaces.
Why does this matter? A cluttered, disorganized interior drains mental energy and wastes time searching for things. Proper interior packaging design improves functionality, makes spaces feel larger, and creates visual calm. When everything has a designated spot, your home becomes easier to navigate and maintain. You’re also protecting items from damage, a sweater folded and stored properly in a labeled container lasts longer than one crumpled in a drawer. Whether you’re maximizing a small apartment or organizing a sprawling house, intentional storage transforms how you move through and experience your space.
Key Design Principles for Functional Storage Solutions
Effective interior packaging design rests on a few core principles. Accessibility comes first: items you use daily should be within arm’s reach, while seasonal or rarely used items can occupy higher shelves or deeper storage. Vertical space utilization is critical, most homes have unused wall space above eye level. Adding shelving, pegboards, or wall-mounted organizers instantly multiplies your storage capacity without eating floor space.
Categorization and containment prevent the dreaded kitchen junk drawer problem. Group similar items together (all batteries in one container, all craft supplies in a bin, etc.), then label everything clearly. This system prevents duplicate purchases and makes finding what you need instant. Visual weight and balance matter too. Mixing container sizes, colors, and textures creates visual interest without looking chaotic. Clear containers let you see what’s inside: opaque ones hide clutter but require reliable labeling.
Balancing Aesthetics With Practicality
The aesthetic side of interior packaging design can’t override function, but the two work beautifully together. A sleek wooden dowel rod inside kitchen drawers organizes utensils and looks intentional. Matching storage bins create harmony and make shelves visually cohesive. But, if those bins are so dark you can’t see what’s inside, or so pretty you’re afraid to actually use them, they’ve failed their core job.
The sweet spot is choosing containers that look good and serve their purpose. Natural wood, concrete, or powder-coated metal finishes age well and suit most interiors. Keep colored containers to one or two neutral tones per room to avoid visual noise. A mix of container heights and materials, paired thoughtfully, beats a perfectly uniform, sterile look.
Materials and Finishes That Work Best for Home Interiors
Not all storage containers are created equal. For kitchen organization, food-grade plastic bins with secure lids protect pantry items from pests and moisture: clear ones let you spot when supplies are running low. Glass containers work beautifully for dry goods, flour, pasta, sugar, and withstand temperature swings better than plastic. Size matters: standard clear plastic bins (12″ × 18″ × 6″ depth) fit most closets and shelves.
Fabric bins (canvas or felt) suit bedroom and living room storage: they’re lightweight, collapsible for when not in use, and work with soft-close systems. Metal and wood crates age attractively and support heavier loads than plastic. For bathroom organization, wall-mounted shelf dividers prevent items from tipping during everyday use.
Finishes affect both appearance and durability. Matte or satin finishes hide fingerprints better than gloss. Powder-coated metal withstands humidity (critical for bathrooms and kitchens). Wood benefits from a light stain or clear seal to resist moisture. If you’re designing custom shelving or building storage units, these finishes protect against the daily wear that standard paint won’t. Sites like Homedit showcase how different materials combine for cohesive room designs that work in real homes.
Practical Applications: Room-by-Room Interior Packaging Ideas
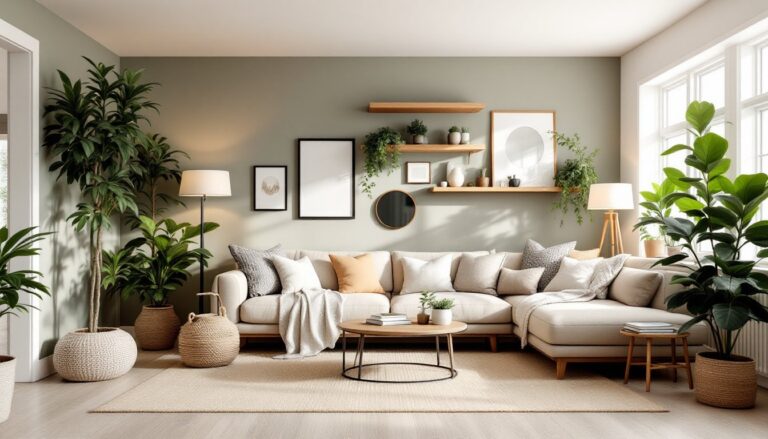
Every room has unique storage demands. The kitchen needs accessibility and visibility for frequently used items: the bedroom prioritizes aesthetics and seasonal rotation: the living room balances display with concealment. Room-by-room interior packaging design accounts for these differences.
Bedroom, Kitchen, and Living Space Solutions
Kitchen: Start with your utensil drawer. Instead of chaos, use divider inserts (wood or plastic) to section off zones: one for forks, one for spoons, one for kitchen knives. Upper cabinets benefit from stackable shelf organizers (often called risers) that double vertical capacity. Install a spice rack system, whether wall-mounted, drawer-based, or inside-cabinet, so you can identify bottles at a glance. For pantry storage, label clear bins by category: baking, breakfast items, snacks. Modern interior design inspiration shows how organized pantries become kitchen focal points worth showing off.
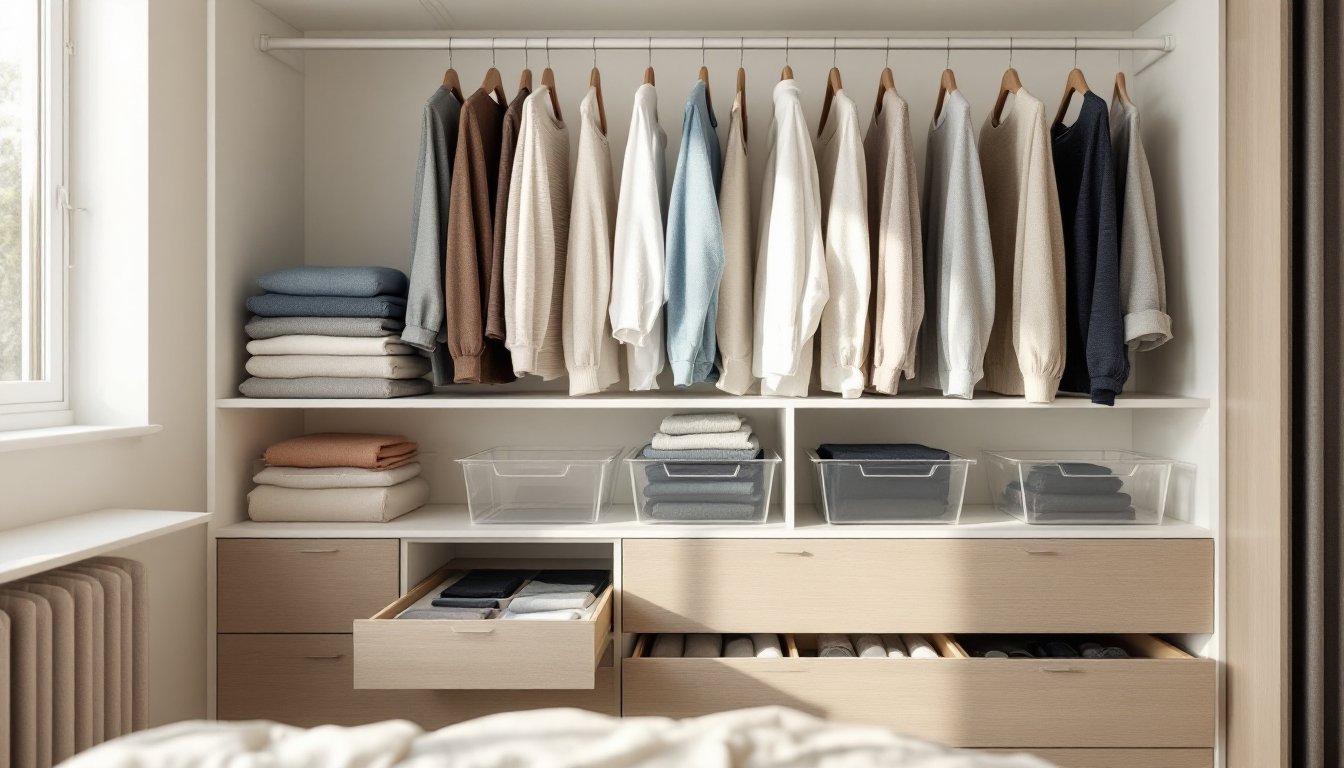
Bedroom: Closets are where most bedroom storage happens. Use thin hangers (not wire) to save space and prevent creasing. Fold heavier items (sweaters, jeans) and store vertically in bins or on shelves rather than hanging: this saves shoulder room and makes items visible. Under-bed storage boxes keep seasonal clothing, bedding, or rarely worn shoes out of sight. Dresser drawers benefit from drawer dividers to prevent the pile collapse when you pull out one item. Consider drawer height: socks and undergarments can fit in shallow dividers, while sweaters need deeper containers.
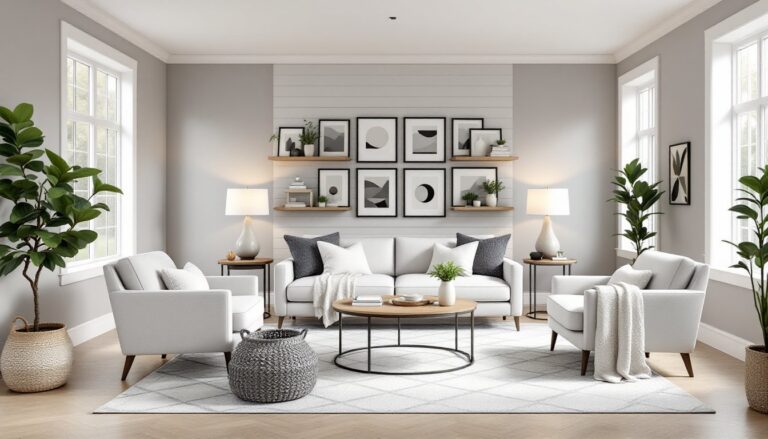
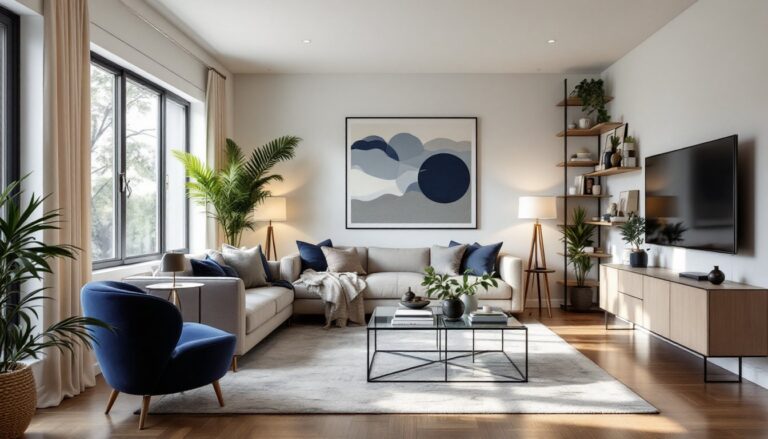
Living Room: Open shelving displays books, decor, and items you actually want to show. Mix decorative baskets (seagrass, woven) with clear containers to create visual rhythm. Lower shelves hold heavier items or frequently accessed books: upper shelves display lighter decorative pieces. Wall-mounted cabinets with doors hide electronics, gaming controllers, and media clutter while keeping a clean sightline. Using top interior design apps can help you visualize furniture and storage placement before committing to layouts.
DIY Tips for Creating Custom Interior Packaging at Home
You don’t need a carpenter’s license to build custom storage. Floating shelves anchored to studs with a 24″ stud finder are reliable DIY wins: use 3/8″ wooden dowels or metal brackets rated for your expected load. A standard 48″ shelf can hold roughly 25–30 lbs if properly braced: add a middle support bracket if you’re storing heavier items.
For drawer organization, wood or plastic dividers cut to width work in any drawer. Measure the interior depth and width first, then cut or purchase dividers that fit snugly. Adhesive-backed labels ($5–$10 per roll) transform any storage container into an organized system: use a label maker for clean, consistent typography.
Build a simple wooden crate system by joining 1×10 lumber with wood glue and pocket holes (a Kreg Jig makes this foolproof). Stack crates for modular storage: paint or stain to match your room. Wall-mounted pegboards (typically $20–$40 for a 24″ × 36″ board) are even easier: no cutting required, just hang, then add pegs and hooks.
Prep is everything. Measure twice, mark lightly in pencil, and drill pilot holes before driving screws into walls or studs. If you’re anchoring anything heavier than 15 lbs to drywall without studs, use heavy-duty toggle bolts or drywall anchors. Wear safety glasses when drilling overhead and dust masks when sawing wood. For ideas on presentation and planning, interior design presentation boards teach you to visualize projects before building.
Start small, organize one closet or a single kitchen cabinet, before tackling an entire room. Small wins build confidence and let you refine your approach.
Final Thoughts: Making Interior Packaging Work for Your Home
Interior packaging design transforms chaos into calm. By understanding why certain layouts work, choosing durable materials, and applying room-specific strategies, you can create storage that serves both function and aesthetics. The projects don’t need to be complicated, often, the biggest gains come from simple fixes like drawer dividers, labeled bins, and strategic shelf placement.
Start with one small project. Commit to labeling, measuring correctly, and choosing materials that match your home’s style. You’ll be surprised how quickly organized spaces improve daily life and how satisfying it is to know exactly where everything lives.